
This article provides you with a guide that shows how to set up using HTMX with Spring Boot and Thymeleaf.
Here, you know about the definitions of Spring Boot, HTMX, and Thymeleaf. The 5 steps to set up using HTMX with Spring Boot and Thymeleaf
What is HTMX?
HTMX is a lightweight library of Javascript library that allows you to create dynamic, amazing, and interactive web applications using only attributes of HTML.
It simplifies many processes for adding AJAX, CSS transitions, WebSockets, and server-sent events (SSE) to your web pages without using Javascript.
HTMX also extends the capabilities of HTML, to build a rich user experience enabling developers with minimal effort.

The 5 steps to set up using HTMX with Spring Boot and Thymeleaf:-
Integrating HTMX with Java, Spring Boot, and Thymeleaf can enhance your web applications by enabling modern, dynamic, and interactive user experiences without needing heavy client-side frameworks. HTMX is a lightweight library that allows you to use hypertext for dynamic content directly in HTML.
Here’s a step-by-step guide to setting up and using HTMX with Spring Boot and Thymeleaf:
->Set Up Spring Boot Project:- First set up to make a spring boot project on your system
First, set up a new Spring Boot project on your system. You can use Spring Initializr (https://start.spring.io/) to bootstrap your project with the necessary dependencies things required for making a spring boot project.
- Dependencies: Some things need to be projected on spring boot like Spring Web, Thymeleaf
->Add HTMX to Your Project:- Add HTML in your project to add many things and also to link things
Include HTMX files in your project by adding them to your HTML template. You can download many things like the HTMX library and include it locally or use a CDN.
In your src/main/resources/templates directory, create a Thymeleaf template and add the HTMX library.
->Create a Spring Boot Controller:- Make a controller to control all your functions and requests nicely
Create a Spring Boot controller in your project to handle requests. For example, let’s create a simple application of Spring Boot where you can fetch and display a list of items dynamically.
->Create Thymeleaf Templates:- Create the best templates for Thymeleaf to make it better
Create the main template (index.html) and a fragment (itemList.html) for the dynamic content.
->Run Your Spring Boot Application:- Run the applications of Spring Boot in your system
Run your Spring Boot application using your IDE or the command line. Navigate to http://localhost:8080 in your web browser. You should see a form of applications to add items and an empty list. When you add an item to your applications, HTMX will handle the form submission via AJAX, and the updated list will be rendered without a full-page reload.
The Main Key Features of HTMX:-
Here, you get some main features of HTMX that help you to set up a guide using HTMX.
- AJAX Requests- HTMX can send the requests of asynchronous HTTP(GET, POST, PUT, DELETE, etc.) when events (like clicks, form submissions, or other actions) are triggered. The responses can then be used to update parts of the web page dynamically.
- CSS Transitions- HTMX allows to update content when seamless integration of CSS transitions is content. For content changes, it can also used to create smooth animations.
- WebSockets- for real-time updates, it supports the websockets. This is for those applications that need to display live data.
- Server-Sent Events (SSE)- it works to listen to the server-sent events side and also allows the servers to push updates to the clients.
- Extensive Event Handling- It also supports a wide range of events(click, change, submit, etc.) and provides mechanisms to trigger actions based on these events.
- Swapping Strategies- HTMX provides various strategies for updating content, such as innerHTML, outerHTML, append, prepend, and more. This allows for flexible content replacement strategies.
Advantages of Using HTMX
- Minimal JavaScript: HTMX allows the user to achieve rich interactivity with minimal custom JavaScript, keeping your codebase clean and maintainable to execute.
- Progressive Enhancement: It enhances existing HTML files, making it easy to integrate and execute into traditional server-side applications in your system.
- Declarative Approach: The use of HTML attributes in your Spring Boot makes the behavior of your web pages explicit and easy to understand for the user the usage of Spring Boot.
- Server-Centric Development: HTMX fits well with server-side rendering, allowing developers to leverage server-side frameworks and languages while still providing a modern, dynamic user experience.
Example Use Case:-
Here’s a simple example to illustrate how HTMX can be used in a web application:
- Template of HTML
- Server-Side Endpoint (e.g., using Python Flask)
When the button is clicked, HTMX sends a GET request to the /load-data endpoint. The server responds with JSON data, which HTMX then uses to update the #result div.
It enhances the experiences of the user while simplicity and clarity provide to the codebase. It is well-suited for the development of server-centric and can be seamlessly integrated with traditional server-side frameworks.
What is Spring Boot?
It is an open-source platform based on Java frameworks that is used to create stand-alone, production-grade Spring-based applications easily. It is built on top of the Spring Framework and offers a simplified approach to developing new Spring applications by reducing the need for extensive configuration. Spring Boot is designed to get you up and running as quickly as possible with minimal upfront configuration.
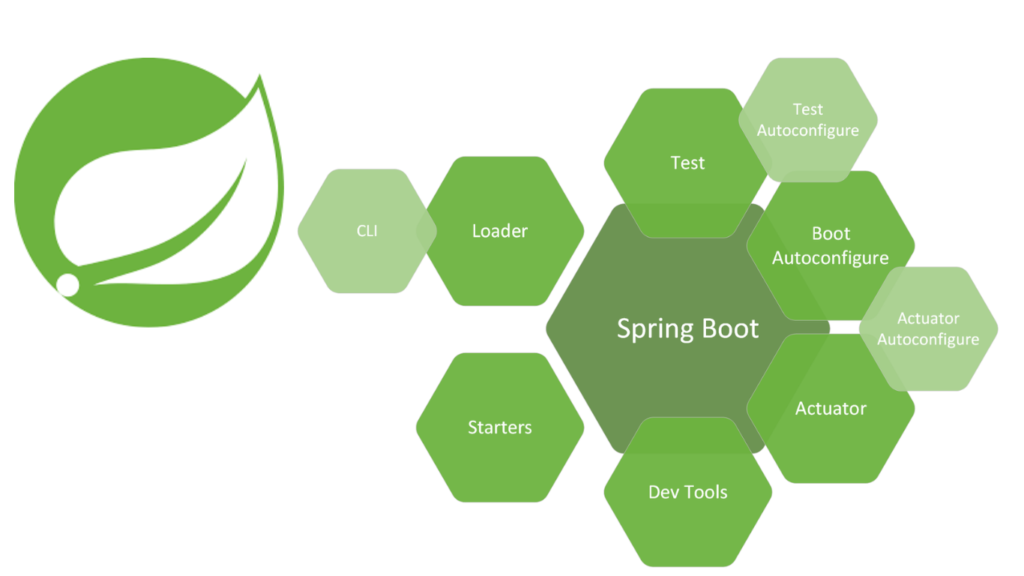
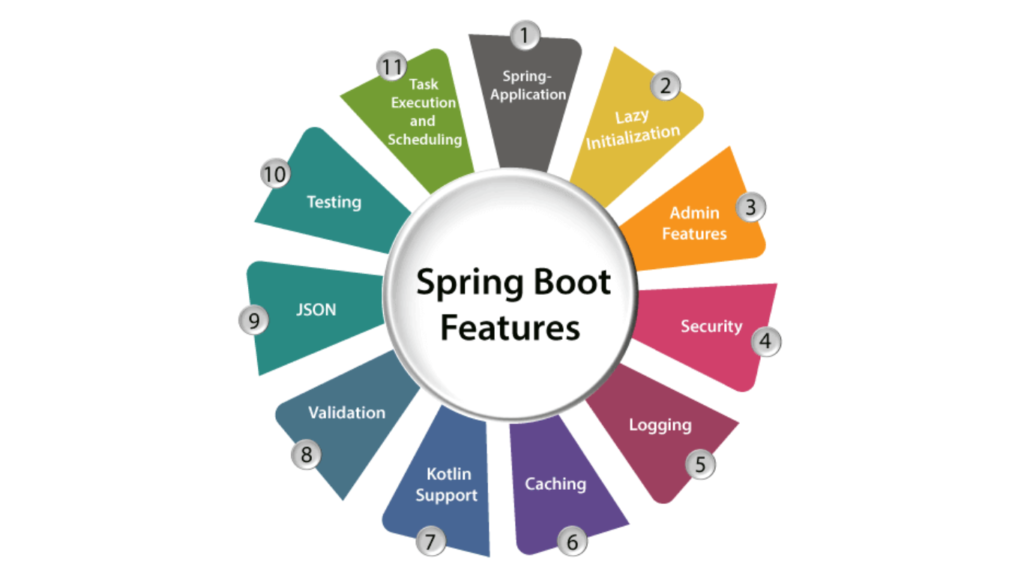
The main Key features of Spring Boot:-
- Auto-Configuration- it automatically finds the applications of spring based on the dependencies you have added to your projects. This feature significantly reduces the need for boilerplate code and configuration.
- Standalone Applications- Spring Boot allows you to create standalone applications that can run independently without needing an external application server. It includes an embedded server (like Tomcat, Jetty, or Undertow) so you can run your application with a simple java -jar command.
- Production-Ready- Provides various features that are essential for running applications in production, such as health checks, metrics, and externalized configuration. Spring Boot integrates well with monitoring and management tools.
- Convention over Configuration- Spring Boot follows the principle of “convention over configuration,” which means it provides sensible defaults and conventions that you can use, reducing the need for manual configuration.
- Easy Integration with Spring Ecosystem- Seamlessly integrates with other Spring projects like Spring Data, Spring Security, Spring MVC, and Spring Cloud, making it easier to build robust and scalable applications.
- Microservices Support- it is often used in developing the architectures of microservices, providing the necessary tools for it, and providing features to create and manage microservices efficiently.
What is Thymeleaf?
Thymeleaf is a modern server-side Java template engine for web and standalone environments. It is used to generate HTML, XML, JavaScript, CSS, and text, and is especially useful for creating dynamic web pages in Spring Boot applications. Thymeleaf integrates seamlessly with Spring MVC, making it a popular choice for developing dynamic web applications in Java.

The main features of Thymeleaf:-
- It provides natural templates offered by the browser.
- It highly provides extensibility and flexibility using dialects.
- It is well integrated with the frameworks of spring.
- It provides a powerful set of attributes to manage the logic template.
- It supports internationalization out of the box and allows the applications of localization.
- It facilitates form binding, validation, and handling of user inputs within web forms.
- It allows fragments of templates to be included and reused for different parts of an application.
Conclusion:-
Using HTMX with Spring Boot and Thymeleaf allows you to create modern, dynamic web applications with minimal JavaScript. This setup leverages the strengths of Spring Boot’s backend capabilities and Thymeleaf’s server-side rendering, while HTMX provides a lightweight solution for dynamic, interactive content. By following this guide, you can enhance user experiences with more responsive and interactive interfaces.
