
This is a simple and short project for beginners. Here we will learn to make a clock within just a few steps of coding which has just 18 lines of code. We will look step by step into the parts of coding and then I’ll provide the full source code. So get ready to make a digital clock using python.
Step 1: Creating a New Python File.
So let’s get started at first, we have to create a new Python file. I’ll name it main. You can name it whatever you want. For this, you have to click on the file option in your Python IDLE and then on New File. And of course to save it click on the file and then save.
Step 2: Importing Tkinter
So in the next step, we have to start coding. At first, we will import Tkinter. To know more about Tkinter you can tap int the link provided. So to import Tkinter :
from tkinter import *
from tkinter.ttk import *
Step 3: Import Time
Now we will import time. For that:
from time import strftimeStep 4: Creating UI for Clock
Now let’s create a UI for our clock. So I’ll write root = Tk(), and then I’ll give it the title “Clock”. You can give any title that you want to be displayed at the title bar of your digital clock.
root = Tk()
root.title("Clock")
Step 5: Creating Label
Now the next step is to create a label to store our clock. Here the first parameter will be root and the second will be font. For the font, I’ll use a custom font which name is DS digital. Here’s the download link for this font. You simply have to download this font and you have to just install it by clicking on the install button. Then you can add them to your code. Here the font size is 150. You can alter this as per your wish.
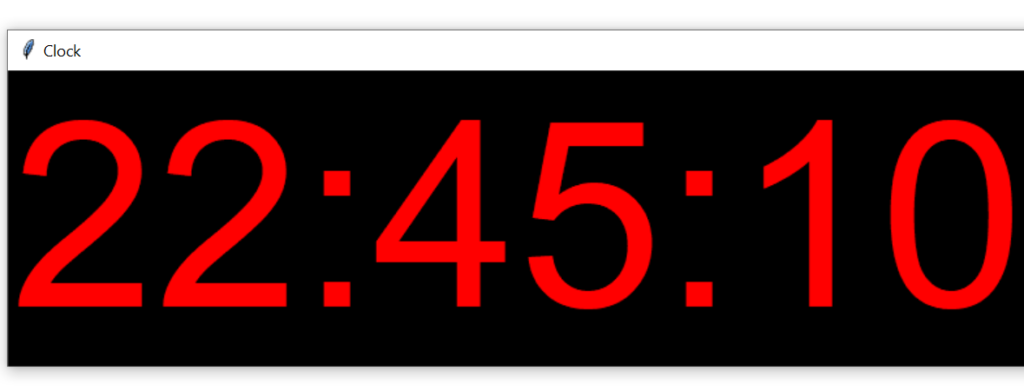
Moreover, we have to add its background and foreground. For background, I’m choosing black whereas for foreground or the text color of our Clock I’m taking red. Undoubtedly you can choose your favorite color. Then we have to pack our label and set it to the center.
label = Label(root, font=("ds-digital", 150), background = "black", foreground = "red")
label.pack(anchor='center')
Step 6: Defining our Function
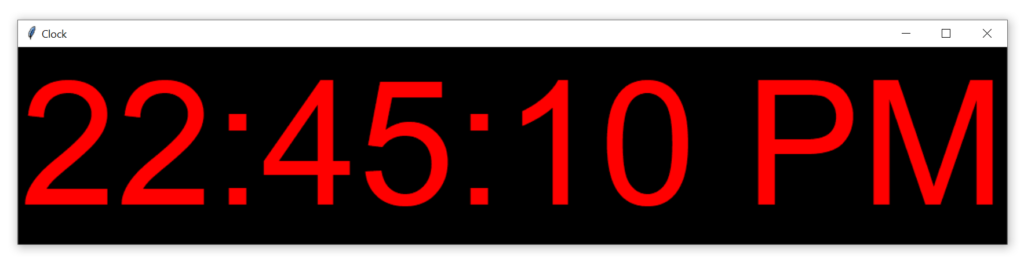
We will now define a function to get our time. We have to do this before our label part. So I’ll take a string, where I’ll store the time. And the format will be Hour : Minute : Second and the am or pm. After that let’s set this time to the label. So for that label.config and for the text, I’ll send the string. Then let’s try to call our time function on every second. For this, we’ll use lable.after and the first parameter will be 1000. Which is one second and on every one second we call the time function itself and we have to cut the brackets.
def time():
    string = strftime('%H:%M:%S %p')
    label.config(text=string)
    label.after(1000, time)
All right now outside of the time function let’s call our time function.
time()And lastly, we have to write the main loop.
mainloop()Step 7: Run our Code
That’s all that we had to do. At last, we will run our code after saving it.
Full Source Code
Here’s the complete source code as explained above.
from tkinter import *
from tkinter.ttk import *

from time import strftime

root = Tk()
root.title("Clock")

def time():
    string = strftime('%H:%M:%S %p')
    label.config(text=string)
    label.after(1000, time)

label = Label(root, font=("ds-digital", 150), background = "black", foreground = "red")
label.pack(anchor='center')
time()

mainloop()
